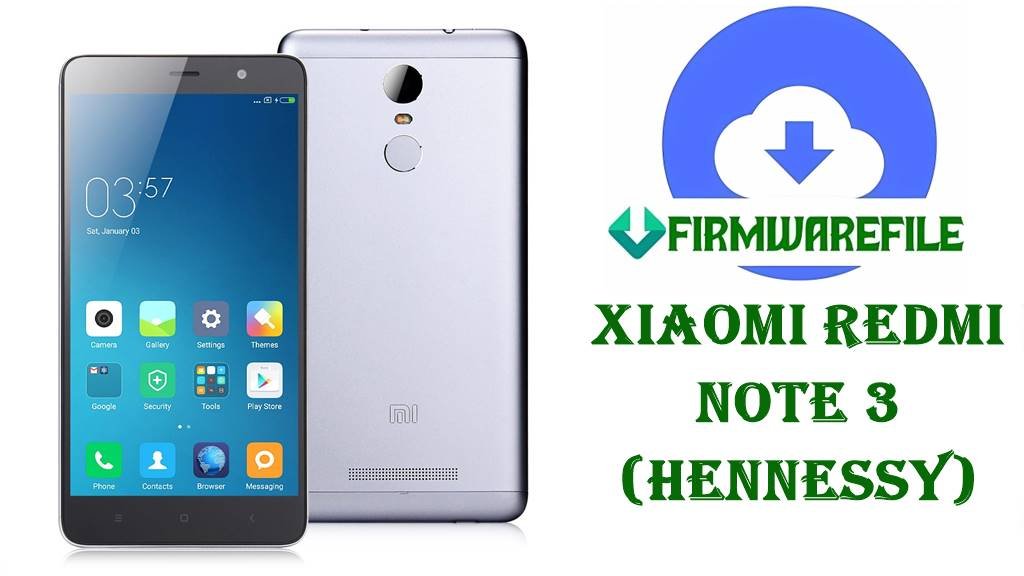
Download Xiaomi Redmi Note 3 Firmware (hennessy): Fix Bootloop, Lag & Software Issues
This comprehensive guide provides direct download links for the stock firmware flash files and step-by-step instructions to restore your Xiaomi Redmi Note 3 (hennessy). Whether you need to reset your phone, fix bootloop issues, bypass password locks, resolve device freezing, or address other software problems, this guide has you covered. The Redmi Note 3 (hennessy) features a MediaTek Helio X10 (MT6795) chipset, a 5.5-inch FHD display, and a 4000mAh battery, making it a robust mid-range device from 2015. Note: This article is for the hennessy codename (Redmi Note 3 with MediaTek), not the Snapdragon-based Redmi Note 3 (kenzo) or Special Edition (kate).
⚠️ Essential Pre-Flash Checklist
Flashing can lead to errors if not done correctly. Complete this checklist to ensure a smooth process. All data will be wiped, so a backup is critical.
- ✅ Full Data Backup: Save photos, contacts, and files to Mi Cloud, Google Drive, or a PC to prevent data loss.
- ✅ Charged Battery: Ensure your Redmi Note 3 has at least 60% battery to avoid interruptions during flashing.
- ✅ Windows PC: The SP Flash Tool (for MediaTek devices) requires a Windows operating system.
- ✅ Original USB Cable: Use a high-quality USB cable for a stable connection to your PC.
- ✅ Unlocked Bootloader: Flashing typically requires an unlocked bootloader. Use the official Mi Unlock Tool (expect a 7-15 day waiting period).
- ✅ Required Software: Install SP Flash Tool and MediaTek USB Drivers for the MediaTek chipset.
Understanding the Firmware: Types and Regions
Selecting the correct firmware is crucial to avoid bricking your Redmi Note 3 (hennessy). The hennessy variant is specific to the MediaTek Helio X10 (MT6795) processor, distinct from the Snapdragon-based kenzo or kate variants.
- Fastboot/Recovery ROM (.zip): For MediaTek devices, these are typically flashed using SP Flash Tool. The provided files are recovery ROMs, suitable for both SP Flash Tool and TWRP (if compatible).
- Region Codes:
- CNCJ/CNDI: China versions, optimized for local networks but may lack Google Play services.
- MIXM: Global version with Google services and multi-language support.
Note: No Xiaomi.eu ROM was provided, and custom ROM support for hennessy is limited due to the MediaTek chipset.
Official Firmware Downloads for Redmi Note 3 (hennessy)
These firmware files are sourced from trusted repositories for reliability and security. Ensure you download ROMs for the hennessy codename, not kenzo or kate, to avoid bricking your device.
| Region | MIUI Version | Android | Release Date | Download Link |
|---|---|---|---|---|
| China (CNCJ) | V7.0.22.0.LHNCNCJ | 5.0 | 2015-12-09 | Recovery ROM (Dead Recovery) |
| China (CNDI) | V8.1.3.0.LHNCNDI | 5.0 | 2016-12-07 | Recovery ROM |
| Global (MIXM) | V10.2.1.0.MHOMIXM | 6.0 | 2019-01-14 | Recovery ROM |
TWRP Recovery for Redmi Note 3 (hennessy)
To flash custom ROMs or recovery ROMs via TWRP, install the TWRP custom recovery specific to the Redmi Note 3 (hennessy).
- TWRP Recovery: TWRP-3.7.0_9-0-hennessy – Official TWRP image from TWRP’s site, suitable for flashing recovery ROMs. For updates, check TWRP’s official site or XDA Forums.
How to Install TWRP:
- Download the TWRP .img file and rename it to
recovery.img. - Boot your Redmi Note 3 into Fastboot mode (Volume Down + Power).
- Connect to your PC and open a command prompt.
- Flash TWRP by running:
fastboot flash recovery recovery.img. - Boot into recovery:
fastboot boot recovery.img.
Warning: Do not use a TWRP image for other devices (e.g., kenzo or kate), as it will brick your hennessy device. MediaTek devices require specific tools and drivers, so ensure MediaTek USB Drivers are installed.
Recommended Custom ROMs
Custom ROM support for the Redmi Note 3 (hennessy) is limited due to its MediaTek Helio X10 chipset, which has less community support compared to Snapdragon-based devices like kenzo or kate.
- Xiaomi.eu ROM: No Xiaomi.eu ROM was provided, but check Xiaomi.eu or XDA Forums for potential builds based on MIUI 10 or earlier, offering a debloated MIUI experience with Google services.
- LineageOS: Check LineageOS or XDA Forums for unofficial builds. Support for hennessy is minimal, and features like the camera may not work fully due to the MediaTek chipset.
How to Flash: Step-by-Step Instructions
The Redmi Note 3 (hennessy) uses a MediaTek chipset, so flashing is typically done with SP Flash Tool. The provided ROMs are recovery ROMs (.zip), suitable for SP Flash Tool or TWRP if compatible. Follow the appropriate method below.
Method 1: The SP Flash Tool Method (Stock ROMs)
- Unzip the Firmware: Extract the .zip file using 7-Zip to obtain the firmware folder containing a scatter file and other images.
- Launch SP Flash Tool: Open SP Flash Tool with administrator privileges on your Windows PC.
- Load Firmware: In SP Flash Tool, click “Choose” next to “Scatter-loading File” and select the scatter file from the extracted firmware folder.
- Enter Download Mode: Power off your Redmi Note 3. Do not connect it to the PC yet.
- Connect to PC: Click “Download” in SP Flash Tool, then connect your phone to the PC using the USB cable while powered off. SP Flash Tool should detect the device (MediaTek PreLoader USB VCOM).
- Choose Flash Option: Select “Firmware Upgrade” for a complete reset (recommended for stability) or “Download Only” for specific partitions. Avoid locking the bootloader unless certain of compatibility.
- Start Flashing: Wait 5-10 minutes for the process to complete. A green checkmark indicates success. Do not disconnect the phone during flashing.
Troubleshooting Tip: If SP Flash Tool fails to detect your Redmi Note 3, ensure MediaTek USB Drivers are installed and try a USB 2.0 port. If the device is in a dead state, use the “Dead Recovery” ROM (V7.0.22.0.LHNCNCJ) with SP Flash Tool.
Method 2: The Recovery Method (Using TWRP)
- Install TWRP: Ensure TWRP is installed using the provided TWRP-3.7.0_9-0-hennessy image.
- Transfer ROM: Copy the .zip ROM file (e.g., Global V10.2.1.0) to your phone’s internal storage or an SD card.
- Boot into Recovery: Power off your phone, then press Volume Up + Power until the TWRP logo appears.
- Wipe Data: In TWRP, go to “Wipe” > “Advanced Wipe” and select Dalvik/ART Cache, Cache, and Data. Swipe to confirm.
- Install ROM: Return to the main menu, tap “Install,” select the .zip file, and swipe to flash.
- Reboot: Reboot to system after installation completes.
Note: If TWRP flashing fails, use SP Flash Tool, as MediaTek devices may have compatibility issues with TWRP for certain ROMs.
After the Flash: First Boot and Setup
The first boot after flashing may take 10-15 minutes as the system initializes. Don’t interrupt if it seems stuck on the Redmi logo. Once booted, follow the setup wizard and restore your data from your backup.
Frequently Asked Questions (FAQs) for the Redmi Note 3 (hennessy)
- Q1: Why does my Redmi Note 3 experience system lag? A: System lag can result from bloatware or heavy apps taxing the MediaTek Helio X10. Flashing the latest Global ROM (V10.2.1.0) can improve responsiveness.
- Q2: How can I fix battery drain on my Redmi Note 3? A: Battery drain may stem from background processes or outdated firmware on the 4000mAh battery. Flashing a clean stock ROM can optimize power efficiency.
- Q3: Will the Redmi Note 3 receive Android 7 or newer? A: The hennessy variant is officially capped at Android 6.0 with MIUI 10. Custom ROM support is limited due to the MediaTek chipset, making newer Android versions (e.g., LineageOS) unlikely or unstable.
- Q4: My hennessy device is bricked after flashing a kenzo or kate ROM. What do I do? A: If your device is in a bricked state or shows MediaTek PreLoader USB VCOM, use SP Flash Tool with the correct hennessy ROM (e.g., V10.2.1.0.MHOMIXM or the Dead Recovery ROM V7.0.22.0.LHNCNCJ). Select “Firmware Upgrade” to restore the device. Seek help on XDA Forums if issues persist.